Einführung: Sowohl für den privaten als auch für den gewerblichen Gebrauch, LED-Lichtbänder sind eine beliebte und anpassungsfähige Beleuchtungsmöglichkeit. Sie werden zur Verbesserung von Gebieten eingesetzt’ Ästhetik, bieten Arbeitsbeleuchtung, und dekorative Elemente hinzufügen. For a safe installation and the optimal lighting effect, knowing how to connect LED strip lights correctly is crucial. This thorough tutorial will take you step-by-step through the process of connecting LED strip lights, covering everything from choosing the appropriate parts to resolving frequent problems.


- Choosing the Proper Parts:
Ensure you have all required parts before beginning the installation process.
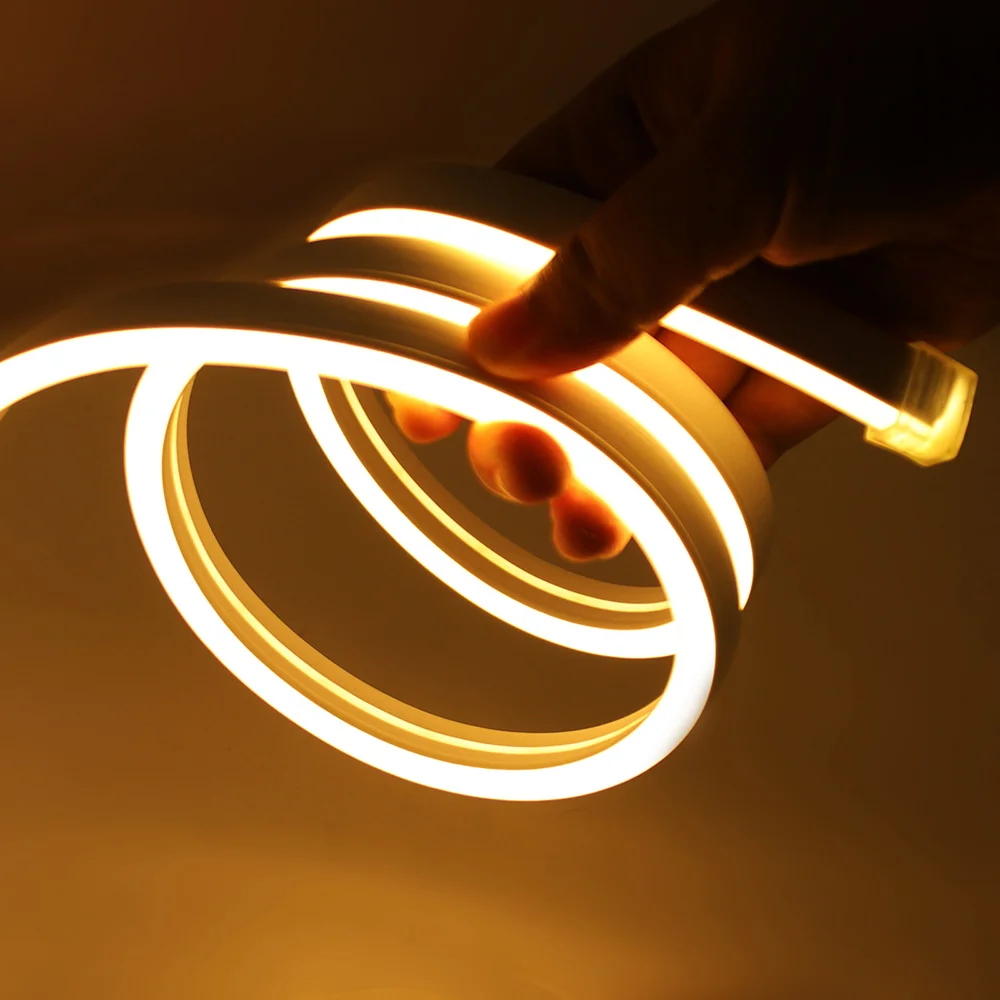
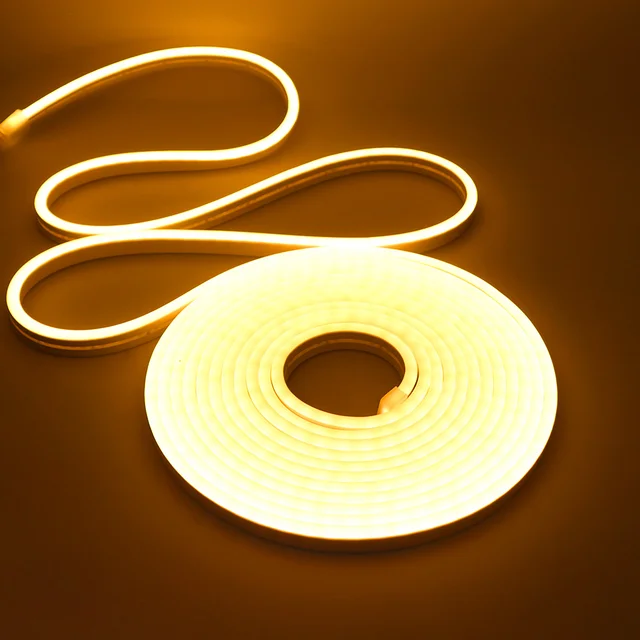
LED Strip Lighting: Select LED strips according to your requirements. Think about things like brightness (measured in lumens), Farbe (Weiß, RGB, RGBW), and waterproof rating if using outside.
Stromversorgung: Verify that the power supply meets the wattage and voltage requirements of your LED strip, which are typically 12V or 24V. To prevent overloading the power supply, a decent rule of thumb is to add 20% to the overall wattage of your strips.
LED Controller: To control colors and effects while using RGB or RGBW LED strips, an LED controller is required. A basic on/off switch or dimmer will do for single-color strips.
Connectors & Zubehör: Mounting brackets, splitters, extension cables, and connectors may be required, depending on your configuration.
- Organizing Your Design:
Efficient planning contributes to a seamless installation procedure. Make a layout and measure the space where the LED strips will be installed. Determine the locati0n of the controller and power supply. This will assist in figuring out how long the LED strips should be as well as how many connectors or extension cords are needed.
- LED Strip Preparation:
The majority of LED strips have an adhesive backing to make installation simple. To guarantee good adherence, clean the area where you intend to mount the strips. In order to ensure that you do not cut through any LED or circuit, you can clip your strips at certain cut points (marked on the strip) if they are too long.
- Joining the LED Strips Together:
Here’s how to connect your LED strip lights step-by-step:
Assembling the Power Supply Connection:
Determine which connectors on the power supply and the LED strip are positive (+) and negative (-).
Match the positive (usually red) wire to the positive terminal on the power supply and the negative (usually black) wire to the negative terminal if the wires on your LED strip are pre-soldered.
If your power source has a barrel plug, use a DC connection; if it has a terminal block, use screw terminals.
B. Joining Several Strips:
Use solderless connections or solder the strips directly to the copper pads if you need to join numerous strips in series (end to end).
Use a splitter or junction box to join several strips to a single power supply for parallel connections. A power supply should be able to support the total wattage of all the strips.
B. Connecting an RGB/RGBW Strip Controller:
Match the input wires of the LED strip (usually R, G, B, and occasionally W) to the output terminals of the controller.
Make sure the voltage matches when connecting the controller input to the power supply.
- Put the LED Strips in Place:
After removing the sticky backing, gently press the strip into the spotless surface. If you want more security, utilize mounting brackets or clips, especially in humid or hot regions.
- Checking the Installation:
Make sure all connections are tight and the strips are lit correctly by testing your setup before completing the installation. Activate the power supply and, if necessary, cycle between the colors and modes using the controller.
- Troubleshooting Typical Problems:
Try the following if your LED strips aren’t lighting up or flickering:
Verify that every connection is safe and appropriately matched (negative to negative, positive to positive).
Check to see if the power supply is working properly and supplying the right voltage.
Look for any obvious damage on the connectors or LED strips.
Ensure that the overall wattage does not beyond the capability of the power supply.
Zusammenfassend:
Although connecting LED strip lights might initially seem difficult, it can actually be a simple operation with proper planning and close attention to detail. You may create a stunning and useful lighting setup by carefully choosing the parts, organizing your space, and making the necessary connections. This article offers the fundamental knowledge to get started with LED strips, whether you’re using them for dynamic color effects, under-cabinet lighting, or accenting architectural details. For a safe and successful installation, always refer to product instructions and safety requirements.